Using CaIoT's AI Test Utility:
This documentation explains how to use CaIoT's AI Test Utility and all of its features.
- Note: It is possible to test an app on any device without creating a project first. This is to make it easier for users who may be new to testing, just need to quickly test a few small things, or who want to get used to the platform first, to quickly and easily get started. This is why the first screen is the Device Lab page.
- Go to the AI Test Utility page. This page contains all of the projects linked to the account. It’s here that you can:

- Add a new project. Only those assigned the Project Manager or Product Owner can create a new project, as highlighted in CaIoT's Roles Documentation.
- This will prompt you to create a name for the new project and that project will be immediately added to the list.

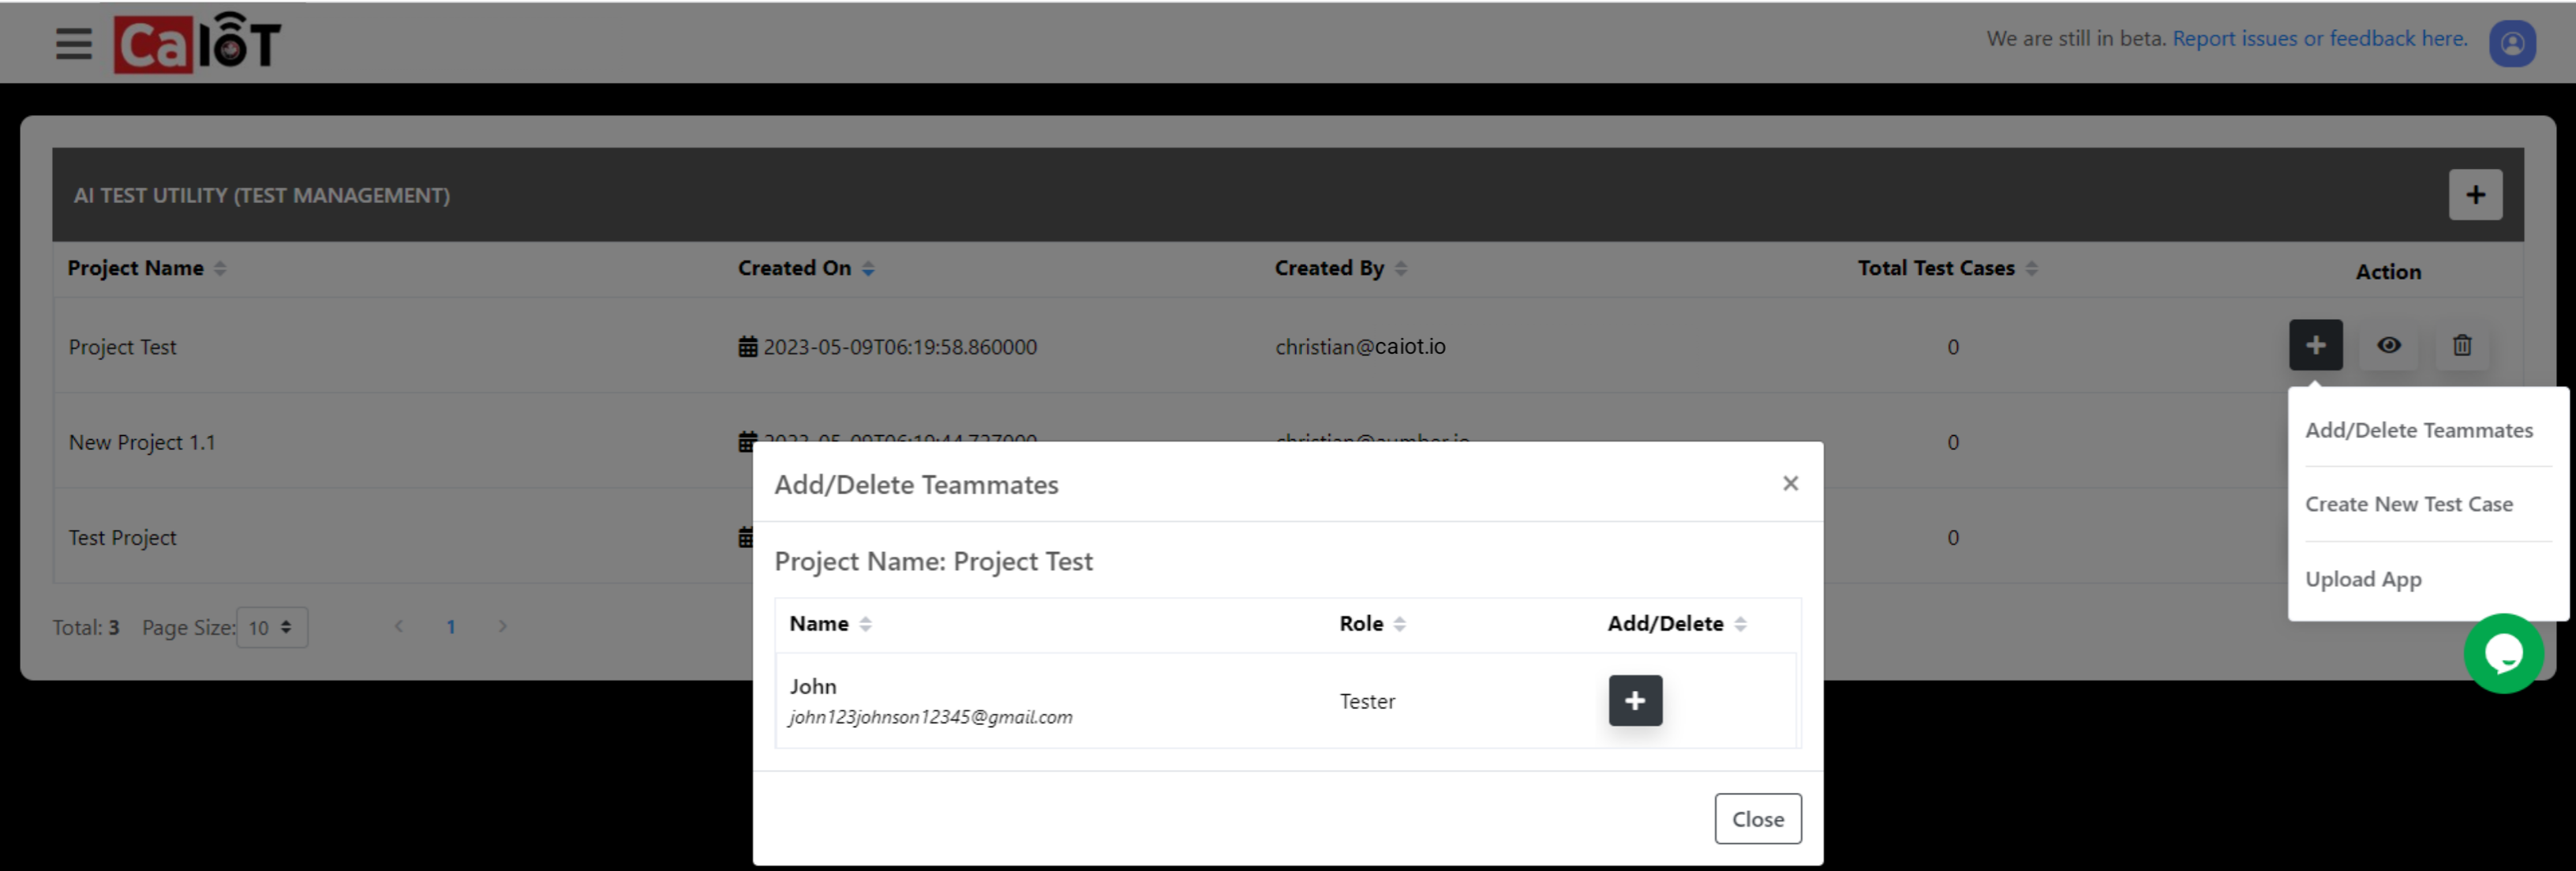
- Add or delete a teammate who can work on the project, create a new test case for the project, or upload an app directly to the project.
- Adding teammates allows others to work simultaneously on a project. They can be removed at any time.
- Click the “+” icon to add a teammate. After a teammate is added, this icon will become a trash can, which can be clicked to remove that user from the project.
- Adding teammates allows others to work simultaneously on a project. They can be removed at any time.
- Note: A teammate can only be added if the account owner has already added that user to the account, which is explained on the Getting Started With CaIoT documentation.
- Create a new test case.
- Azure DevOps can be configured.
- Click “Azure DevOps Config”.
- Enter Azure information.
- Click “Save”.
- Azure DevOps can be configured.

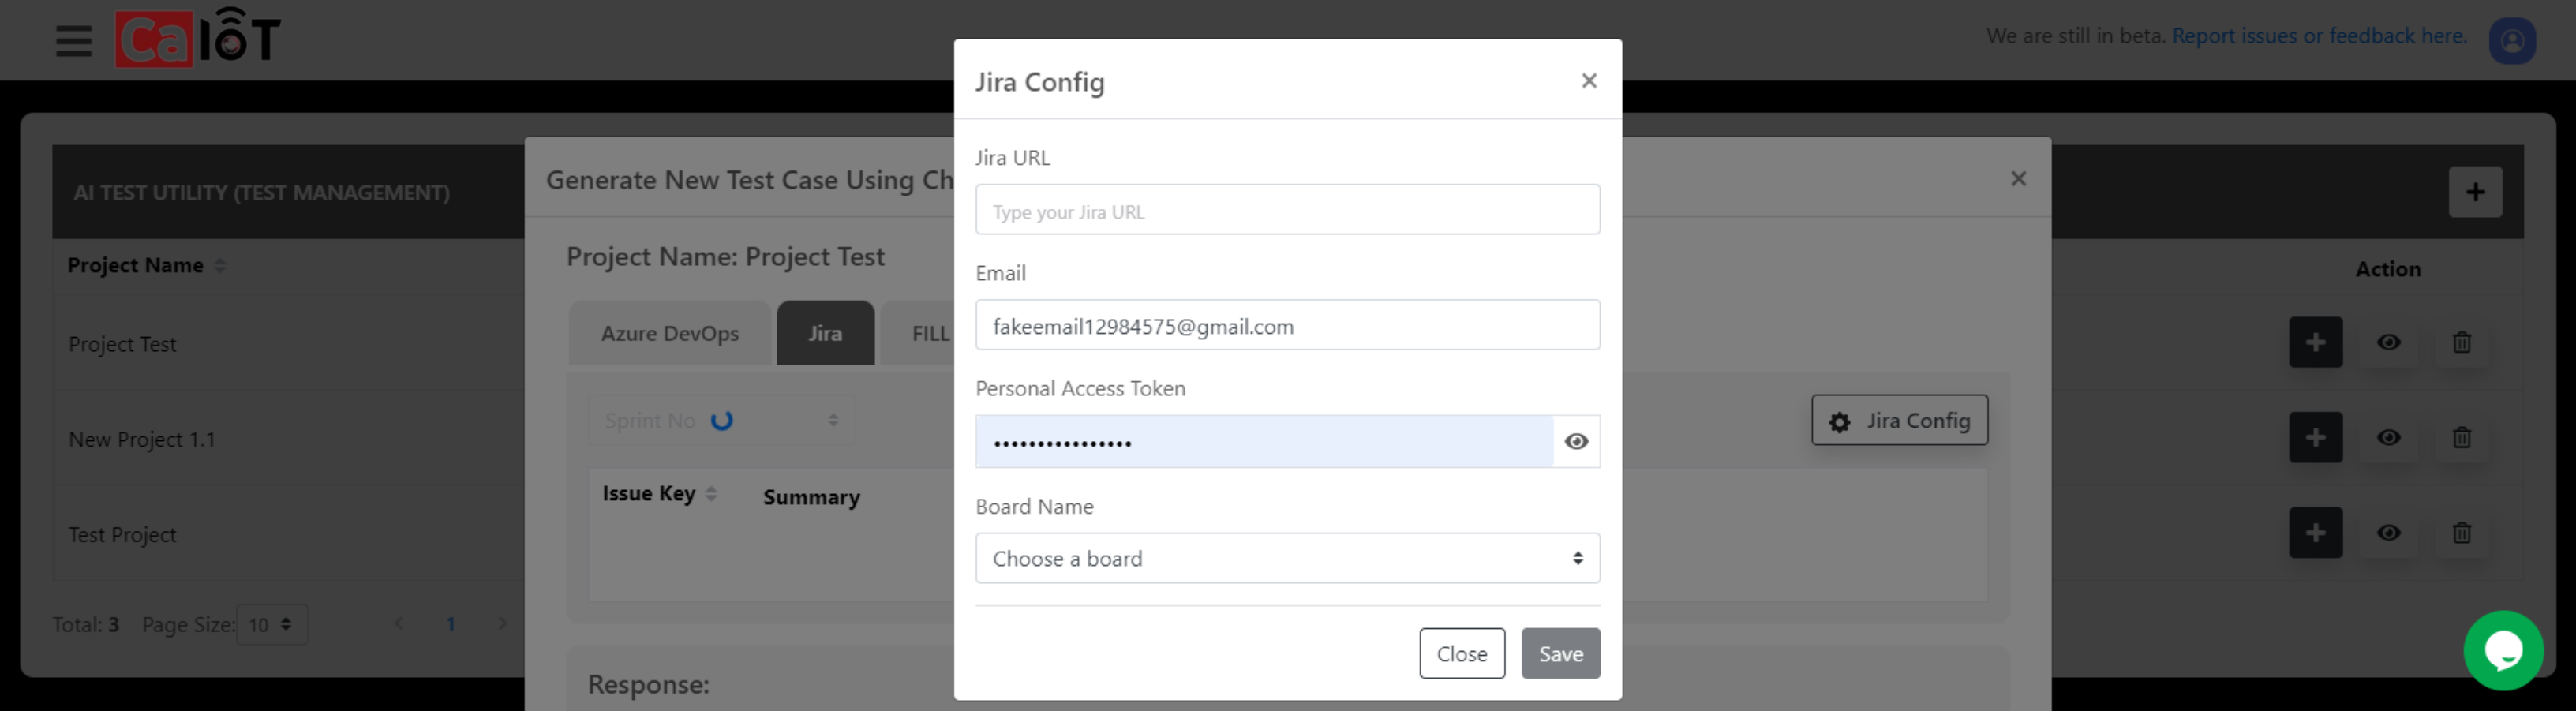
- Jira can be configured.
- Click “Jira Config”.
- Enter Jira information.
- Click “Save”.
- A user story template can be used to automatically generate test cases using ChatGPT.
- Input the user story which corresponds to what the tester wants to test.
- Click “Generate test cases from user story”.
- Verify and edit the test cases.
- Verify, edit, or copy the test cases in BDD format.
- Verify, edit, or copy the acceptance criteria.
- Add the test cases to the project.

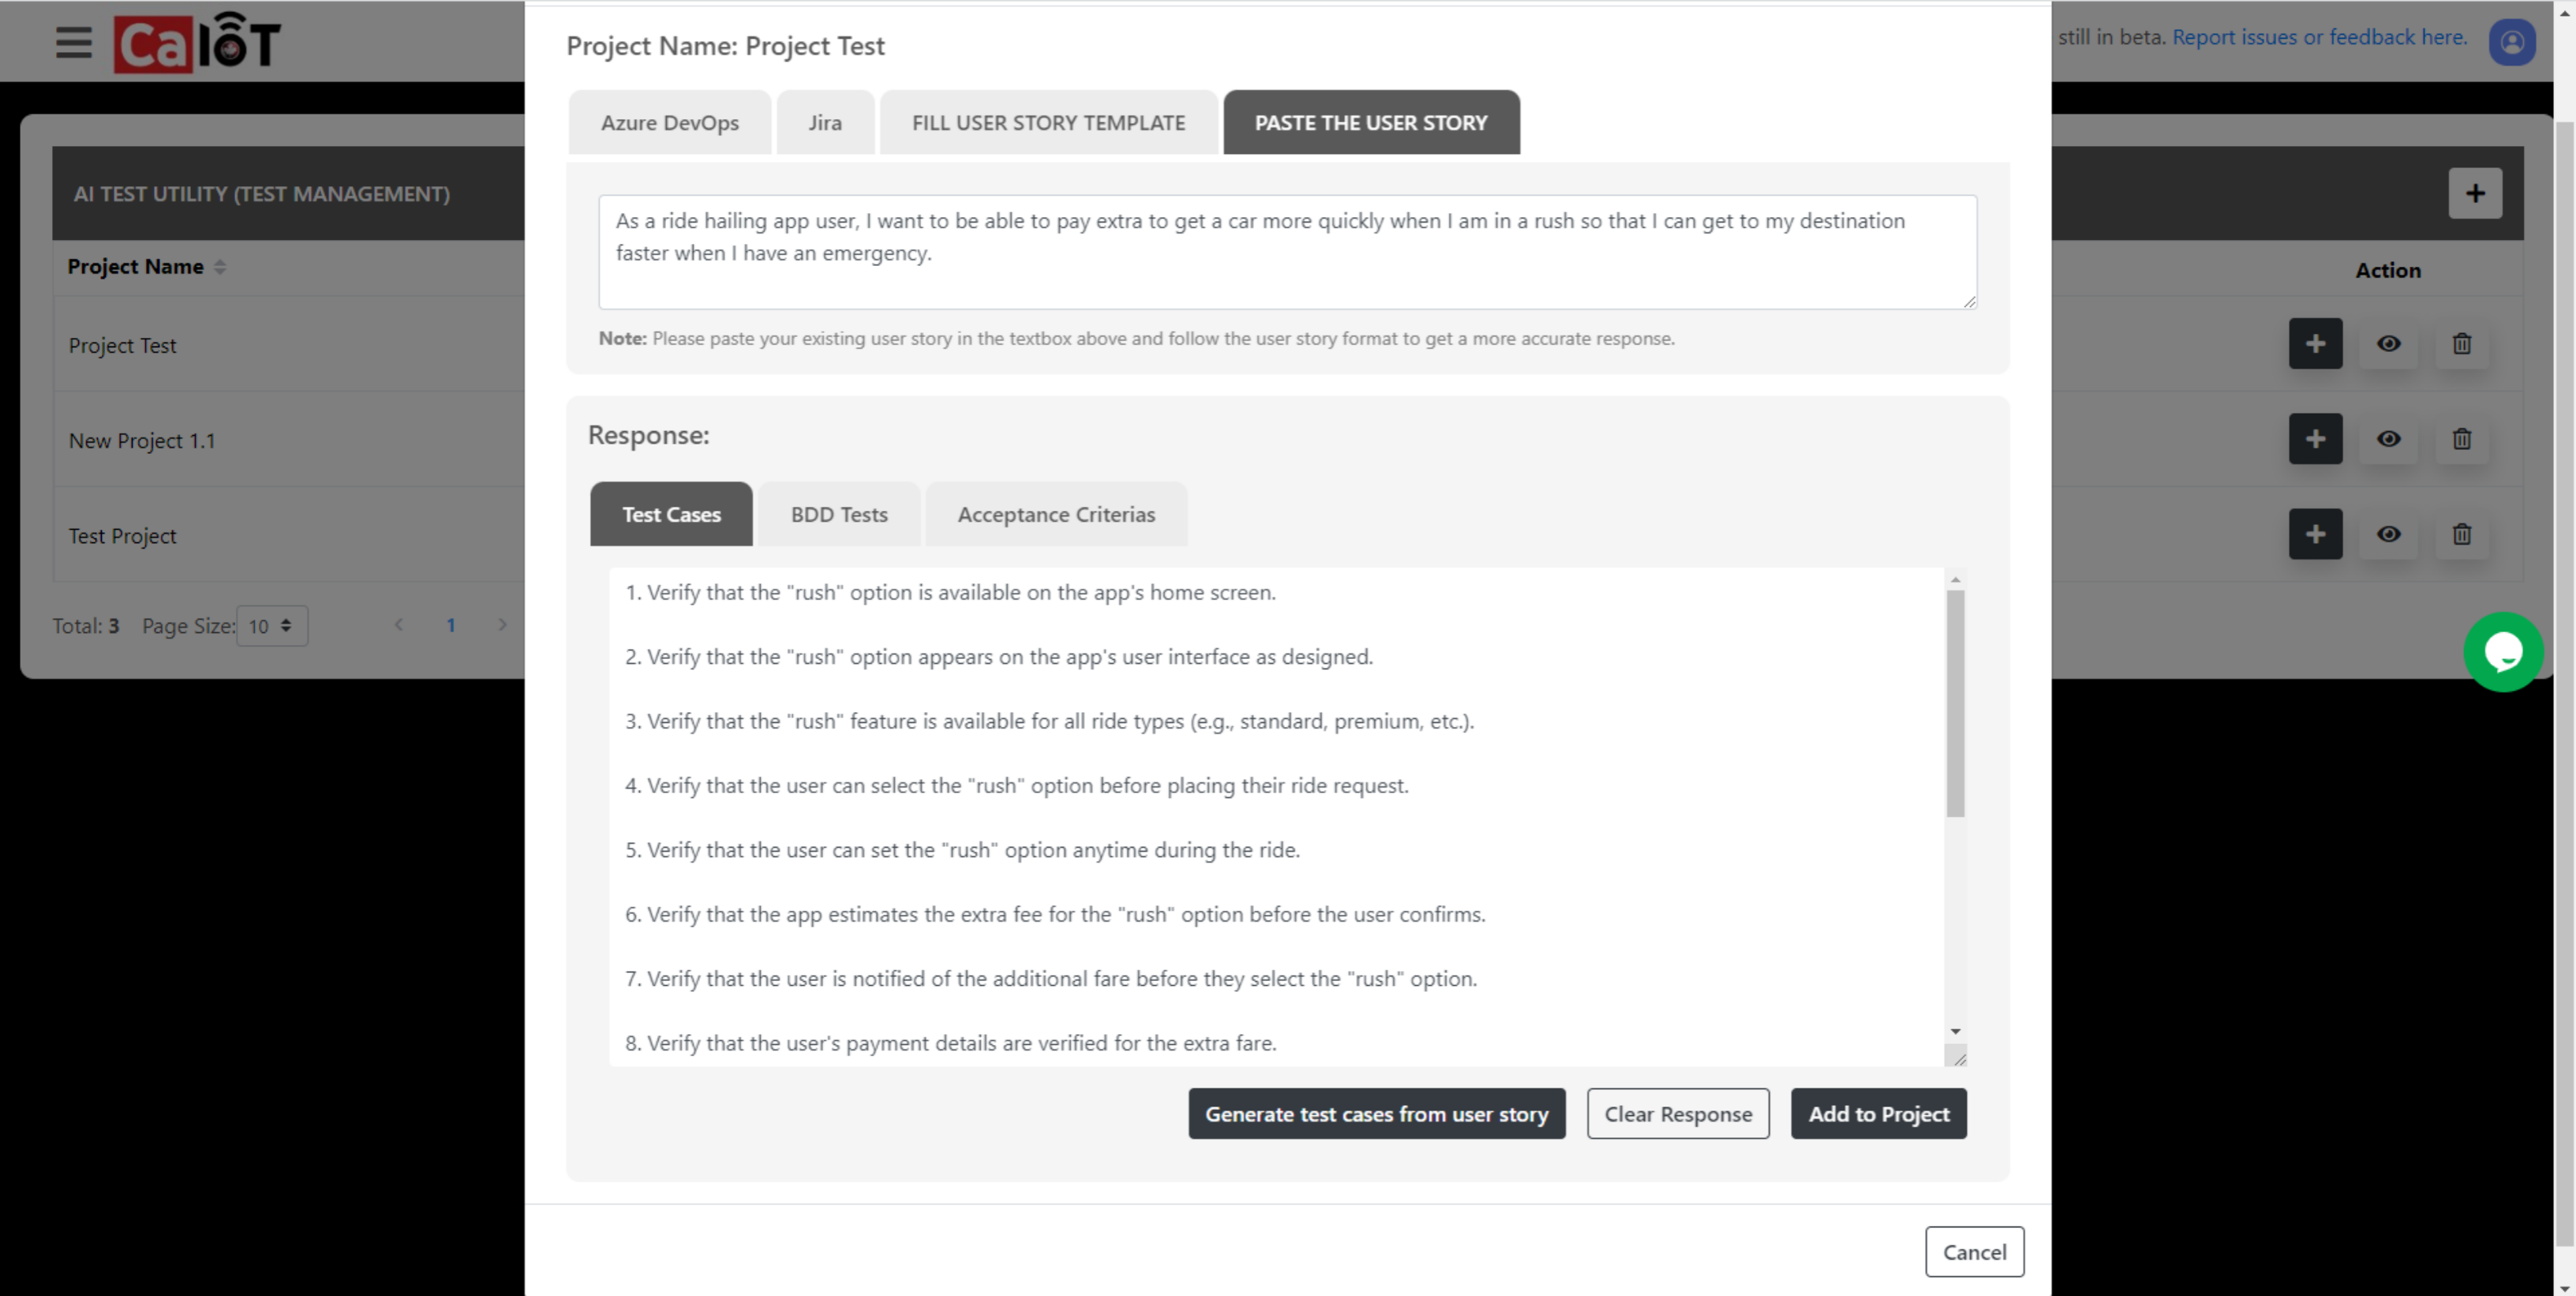
- An existing user story can be pasted to automatically generate test cases using chatGPT.
- See test cases in BDD format.
- See acceptance criteria.
- Clear the response.
- Add the test cases to the project.
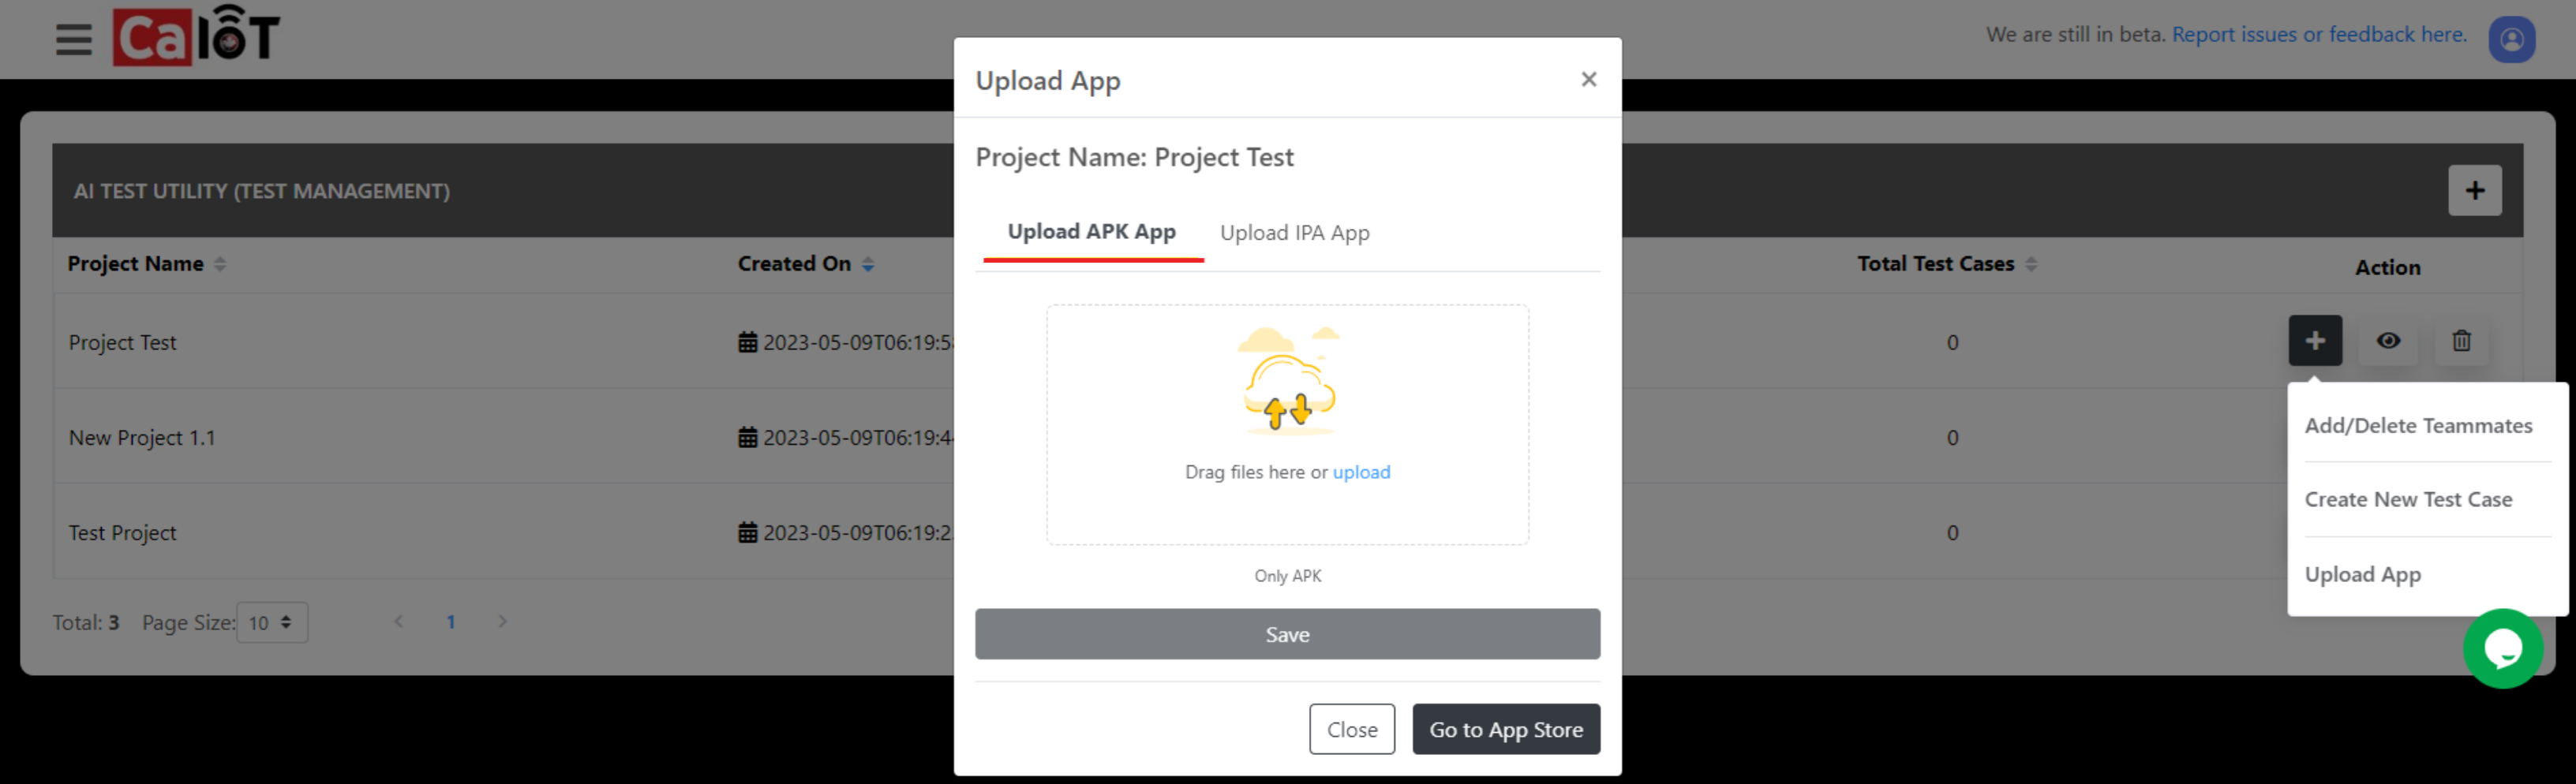
- Upload an app to the project.
- Switch to uploading an IPA file if necessary.
- Click “upload” and select file.
- Click “Save” after the upload progress reaches 100%. At this point the popup should close automatically and the app should be added to the project.
- Alternatively, the account owner can go to the App Store and add an app to the project that way.
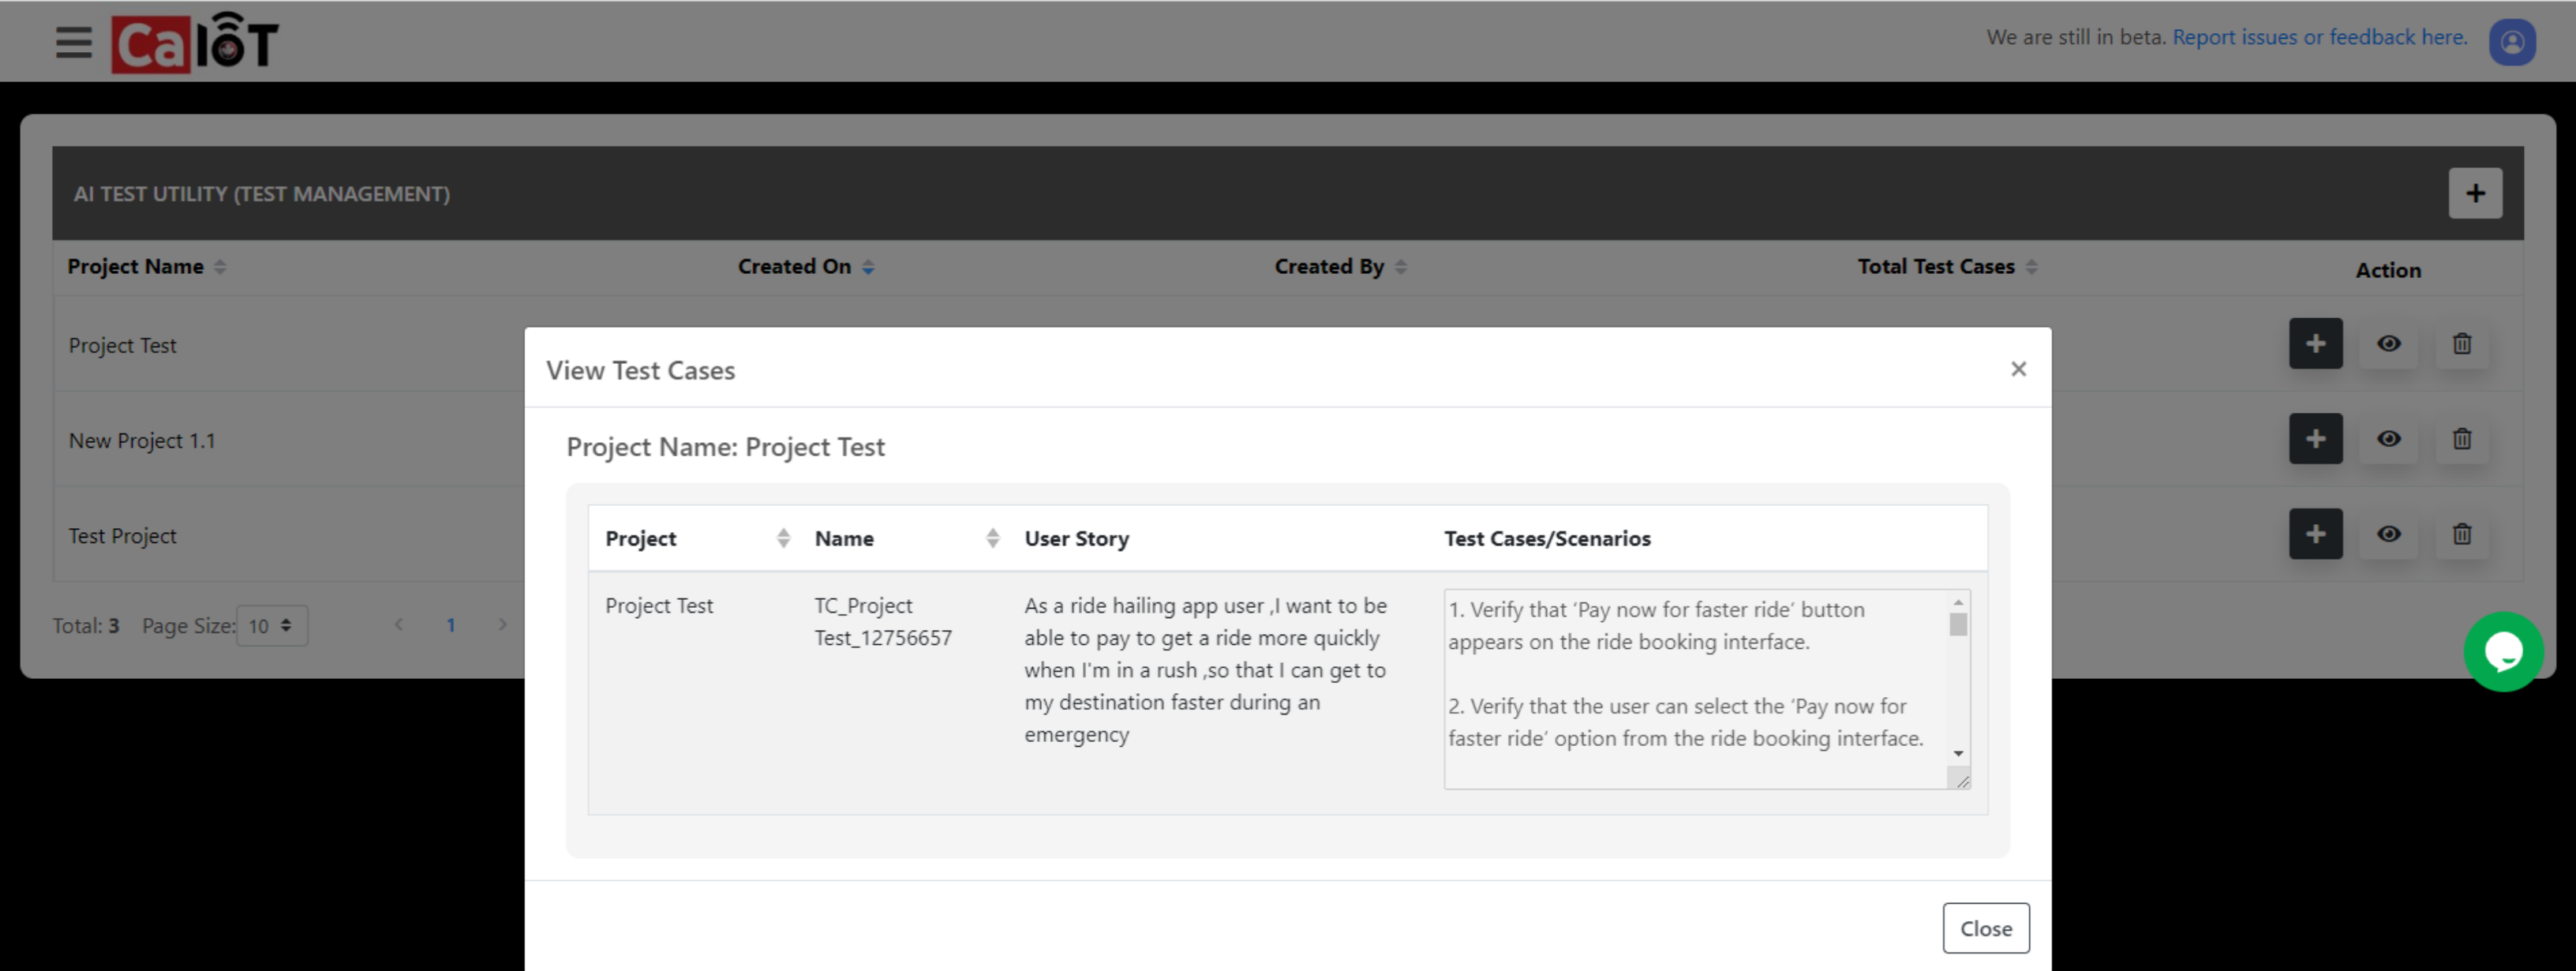
- View project details by clicking the eye icon under the “Action” column.
- This provides an overview of the user story and test cases within the project.
- Delete project by clicking the trashcan icon on the far right under the “Action” column.
- This is for when a project is no longer needed. Deleting the project will dispose of it permanently with no way to get it back.